

Avoid Rewiring: Bathroom Lighting Ideas for NZ Renovators

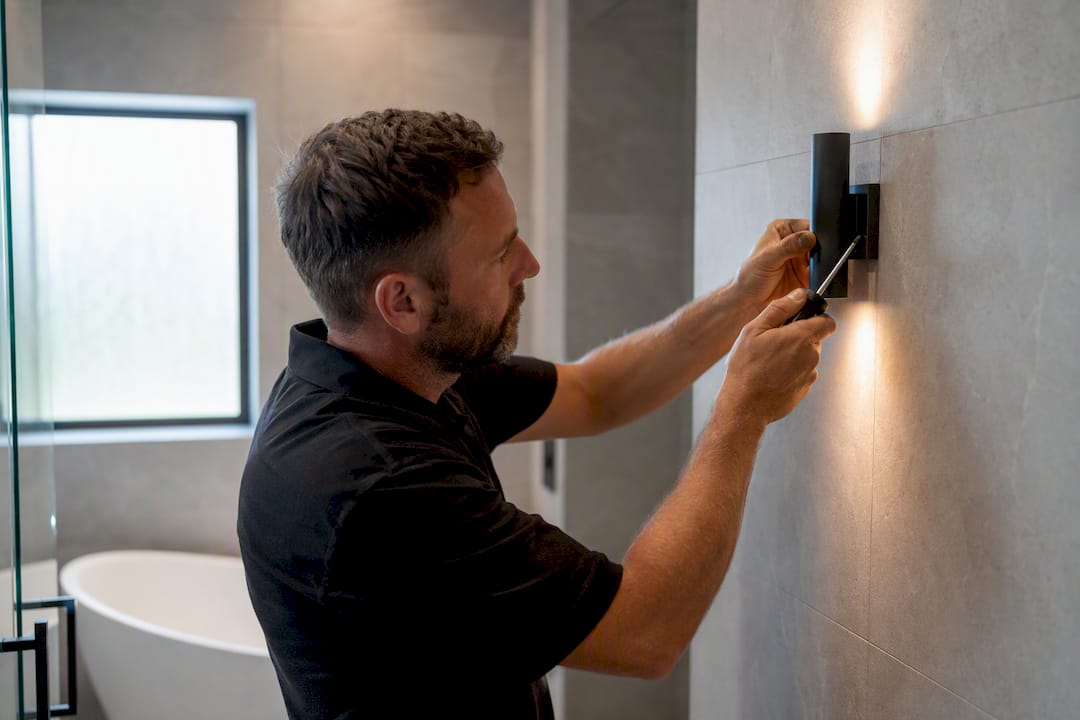
Use a layered lighting plan, task, ambient and accent, combined with IP‑rated fittings in every wet zone and a licensed electrician to install RCD‑protected circuits. Mark out your vanity zone, check IP requirements against Zones 0, 1 and 2, and get a licensed electrician’s quote before you buy a single fitting. Get this sequence wrong and you’ll be re‑wiring within a year.
TL;DR:
Ensuring the correct IP ratings for each bathroom zone and installing RCD-protected circuits prevent costly rewiring and electrical failures within a year.
Proper placement of task, ambient, and accent lighting, combined with dimmers, enhances functionality and mood, requiring careful planning based on room size.
Vanity lighting must have a CRI of 90+ and color temperature between 3000K and 4000K to ensure true skin tones and avoid shadows or glare.
Good ventilation, moisture-resistant fittings, sealed cable entries, and coordinated electrical and plumbing placements extend the longevity of bathroom electric fixtures.
Upgrading to LED fittings with quality drivers and adding dimming or motion-sensor controls improve energy efficiency and user convenience with minimal extra cost.
Table of Contents
Bathroom lighting ideas: what to do and why
Layer the room: task lighting for shaving and makeup, ambient lighting for general use, accent lighting for mood and mirrors.
Check the zones: Zone 0 needs IP67, Zones 1 and 2 need at least IPX4/IP44, and every bathroom circuit needs RCD protection.
Buy for longevity: choose IP44+ across the whole room, not just the shower, because steam travels further than most people think.
Style wins that pay off: a backlit mirror, an under‑vanity LED strip, and a dimmer switch for evening use.
The three layers of bathroom lighting, and where to put them
Most bathrooms fail on one thing: a single ceiling downlight trying to do every job at once. Split the load across three layers instead, and the room works whether you’re shaving at 7am or running a bath at 9pm.
Task lighting handles grooming and close-up work. This means vertical wall sconces either side of the mirror, or a backlit/edge-lit mirror positioned at face height. A single downlight above the vanity throws shadows under the chin and eyes, which is why it’s the most common complaint we hear from renovators.
Ambient lighting fills the whole room evenly so you’re not tripping over the bath mat at night. Ceiling-recessed LED downlights, spaced evenly across the ceiling, do this job. In larger bathrooms, a flush-mounted centre fitting can supplement downlights for softer overall light.
Accent lighting adds mood and highlights features, think a niche shelf, a freestanding tub, or a feature wall. LED strips tucked under a floating vanity or inside a shower niche fall into this category.
The trick that ties all three together is a dimmer, or better, a scene switch that lets you drop ambient light to 20% for a relaxing bath while keeping task lighting bright for grooming. It costs little extra during a rewire and changes how the whole room feels day to day.
Vanity and mirror lighting: heights, colour temperature and CRI
Get the vanity wrong and everything else in the room becomes irrelevant, because this is where you actually look at yourself. Two layouts consistently outperform everything else: vertical sconces mounted either side of the mirror at eye level, roughly 1,500mm to 1,700mm from the floor, spaced about 600mm to 900mm apart depending on mirror width, or a fully backlit/edge-lit mirror that casts even light across the face with no hot spots.
Colour temperature matters more than most people budget for. Bathroom guides generally recommend 3000K to 4000K with a CRI of 90 or higher for vanity lighting, warm enough not to look clinical, accurate enough that makeup and skin tone read true rather than washed out or sallow.
Avoid a single top-down downlight over the vanity, it’s the single biggest cause of under-eye shadows.
Avoid glossy, highly reflective tile behind the mirror, it bounces glare straight back at you.
Match fittings either side of the mirror rather than mixing brightness or colour temperature.
Pro Tip: If you’re only upgrading one thing in an older bathroom, make it the vanity lighting. It’s the fixture you use daily and the one most likely to be a single unflattering downlight left over from the original build.
For sizing help beyond colour and placement, this guide to vanity light sizing breaks down bar length versus mirror width in more detail.
IP ratings, electrical zones and building-code essentials
New Zealand bathrooms are split into electrical zones, and each one carries a minimum ingress protection rating that isn’t optional. Zone 0 is inside the bath or shower itself and needs fittings rated at least IP67. Zone 1 (directly above the bath or shower) and Zone 2 (the surrounding splash area) need at least IPX4 or IP44. Every circuit in the room must run through RCD protection, full stop.
Building Code Clause G8 sets a working benchmark of roughly 20 lux at floor level as the minimum for safe movement through the room, with 18 lux sometimes accepted as a practical measured threshold.
That figure sounds low, and it is, it’s a safety floor, not a design target. A bathroom lit only to 20 lux will feel gloomy; most renovated bathrooms sit well above it once task and ambient layers are combined.
Before you buy anything, run through this:
Confirm the fitting carries a genuine SAA or NZS compliance mark for 230V mains.
Check the stated IP rating against the zone you’re installing into, not just “bathroom safe” marketing copy.
Ask for written installer instructions, some fittings specify minimum ceiling clearance or enclosed vs open installation.
Insist on sealed cable entries; water tracking along an unsealed cable run into the ceiling cavity is one of the most common failure points electricians see.
How many lights, and where: planning by bathroom size
Ceiling height and room size drive spacing more than any fixed rule, but these benchmarks give you a starting point for briefing an electrician or working out a rough budget.
Small bathrooms and ensuites (under 5m²): two to three downlights spaced evenly, plus dedicated vanity lighting, is usually enough. Cramming in more just creates glare in a tight space.
Medium bathrooms (5 to 10m²): four to six downlights on a roughly 900mm to 1,200mm grid, combined with vanity sconces and one accent feature, covers most family bathrooms comfortably.
Large bathrooms (over 10m², or with a separate wet room): split the ceiling into zones and light each independently, vanity, shower, bath and general area, so you can dim or switch each without killing light everywhere else.
Open showers and wetrooms: splash zones expand well beyond the shower screen, so lift every nearby fitting to IP65 rather than the standard IP44, and increase spacing between fittings and any water source.
Working to a tight budget? Spend on task lighting and durability first, a well-placed, well-rated vanity light matters more than a decorative pendant you’ll replace within two years. A wet room compliance guide is worth reading before you finalise a walk-in shower layout, since lighting and waterproofing decisions overlap more than most people expect.
Creative bathroom lighting ideas that hold up in a wet room
Backlit mirrors, under-vanity LED strips, and matte black or brushed brass finishes dominate current bathroom design, and for good reason, they solve a real lighting problem while looking sharp. A backlit mirror doubles as even task lighting without a single visible fitting. An under-vanity strip lifts a floating cabinet visually and adds a soft night-time glow. Both need to be planned into the electrical rough-in early, since retrofitting an integrated strip after tiling is expensive.
The practical limit on all of this is moisture. Matte black finishes look sharp but some budget powder-coated options corrode faster in high-humidity rooms than marine-grade brushed brass or 316 stainless fittings. Check the finish specification, not just the colour, before you commit.
Avoid unsealed decorative fittings marketed for “dry areas only” anywhere near a shower or bath, even outside the strict zone boundary.
Favour sealed LED strips with a rated driver over cheap strip lighting with an exposed transformer.
A dimmer or scene control turns a functional bathroom into one that works for both a 6am routine and a Sunday soak.
A soft night-light scene, set to 5 to 10% brightness, avoids flicking on full ambient lighting at 2am.
What an electrician and renovator will actually ask for
A licensed electrician isn’t a box-ticking formality here, it’s what stands between you and a fitting that fails within eighteen months. They’ll check RCD coverage, confirm whether your existing lighting circuit is 2-wire or needs upgrading to 3-wire for new earthed fittings, and plan loop-in wiring runs before any tiling goes down.
Expect a few line items on the quote you might not have budgeted for: an additional circuit if you’re adding several new fixtures, recessing costs for downlights in a plastered or sloped ceiling, and sealing cable entries properly to stop water tracking into the ceiling cavity.
Confirm switch placement sits outside Zone 2, never inside a splash zone.
Consider GPOs mounted inside vanity cupboards for hairdryers and shavers, kept clear of open water.
Ask for written installation notes from the electrician, especially for integrated LED strips or backlit mirrors.
Pro Tip: Get your electrician and cabinetmaker talking to each other before either starts work. A kitchen lighting plan follows the same logic, coordinate the trades early, or you’ll be cutting into finished joinery later.
Wet-room safety beyond the IP sticker
An IP rating tells you how a fitting is sealed, not how the rest of the room’s electrics will hold up. Switches inside or near a splash zone need to be moisture-resistant, sealed rocker or pull-cord types rather than standard household switches, and ideally positioned outside Zone 2 altogether so a standard switch can be used safely.
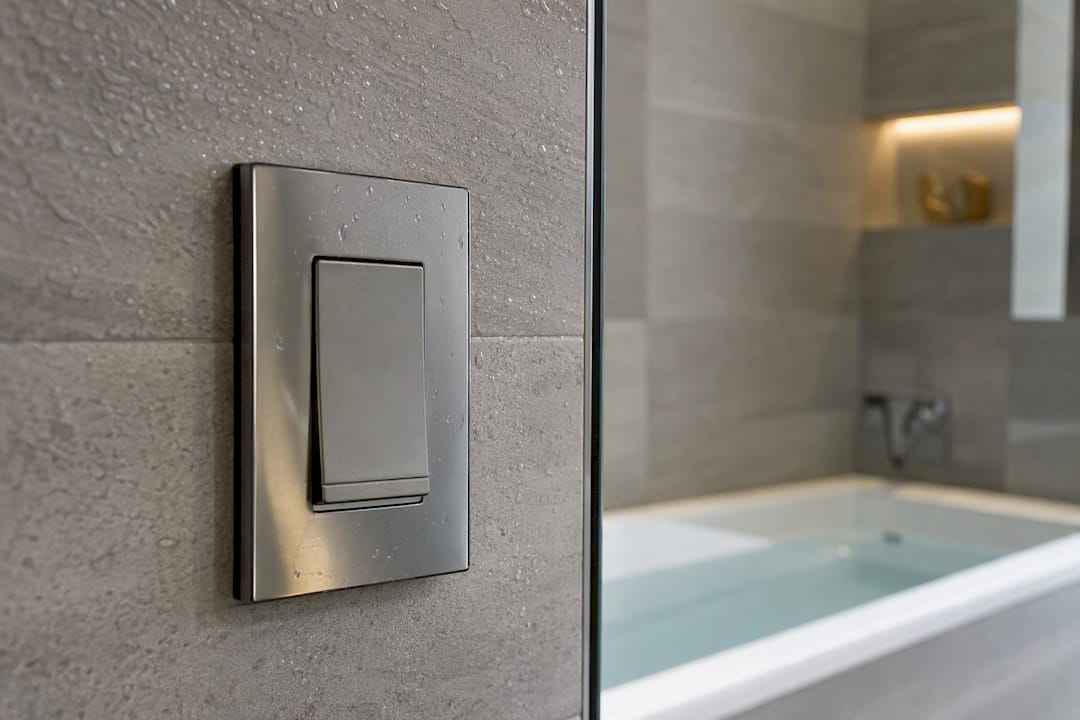
Wiring method matters as much as the fitting itself. Cable runs into the ceiling cavity above a shower need gland seals and moisture-resistant junction boxes, because water doesn’t need to touch a fitting directly to cause a fault, it just needs a path to travel along an unsealed cable and pool at a joint. This is one of the most common failure points electricians report in older bathrooms, and it’s invisible until something trips or corrodes.
Extractor fans wired into the same circuit as lighting need their own moisture considerations too, a fan pulling damp air across an unsealed connection point accelerates corrosion faster than static humidity alone. If you’re combining a light and extractor fan unit, confirm the combined unit carries its own IP rating for the zone it sits in, not just the light component.
Metal fittings and trims in constant contact with condensation, towel rail brackets, exposed screws, mirror frame edges, benefit from corrosion-resistant finishes even outside the strict zone boundary. It’s a small spec change at purchase time and a much bigger fix once rust stains start bleeding down a wall.
None of this replaces a licensed electrician’s sign-off. It’s context for the questions worth asking them before work starts, particularly around switch location and cable sealing in ceiling cavities above wet areas.
Energy efficiency and cost-saving tips for bathroom lighting
LED fittings are the baseline now, not the upgrade. They draw a fraction of the power older halogen downlights used and last considerably longer in a room that gets switched on and off dozens of times a day. If your bathroom still runs halogen downlights, replacing them is usually the single cheapest efficiency win available.
Dimmers save more than people expect, not because dimmed LEDs use dramatically less power at low settings, but because a dimmable scene discourages leaving lights blazing at full brightness for a two-minute trip to brush your teeth. Pair that with a timer or motion sensor on an extractor fan circuit, running a fan longer than needed after a shower wastes both power and the fan’s lifespan.
Spend a little more upfront on a quality driver rather than the cheapest LED fitting on the shelf. A poor-quality driver fails faster in humid conditions than the LED chips themselves do, meaning you’re replacing the whole fitting years earlier than you should be. That’s a false saving.
Finally, don’t over-light. Six downlights in a small ensuite doesn’t make the room brighter in any useful sense, it just adds running cost and installation expense for light you don’t need. Match fitting count to the room-size benchmarks above rather than defaulting to “more is safer.”
Lighting plans for different bathroom layouts
A small ensuite off a main bedroom typically works best with two downlights on a single ambient circuit, a compact vertical sconce pair either side of a mirror, and a dimmer on the ambient circuit only, keeping cost down while still separating task from general light.
A family bathroom with a separate bath and shower benefits from splitting the ceiling into two lighting zones so the bath area can be dimmed for a soak while the shower and vanity area stays bright. This is where scene switching earns its cost, one wall plate, two or three preset combinations.
A narrow galley-style bathroom, common in older villas being renovated, often suits a single row of downlights down the centre of the ceiling rather than a grid, paired with strong vertical vanity lighting since there’s rarely room for a wide backlit mirror. Check a small bathroom layout guide before finalising fixture positions in these tighter footprints.
A wetroom or fully tiled shower-and-bath combination needs every fitting rated to at least IP65 given the expanded splash zone, with accent lighting, if used at all, kept to sealed strips well clear of direct water contact.
Getting ventilation and lighting working together
Lighting and ventilation get planned separately far too often, and it shows the first time steam fogs a mirror or condensation drips off a cold ceiling fitting. Both systems interact with the same electrical rough-in and the same ceiling cavity, so plan them together from the start.
Position the extractor fan away from direct light fittings where possible, and if a combined light-and-fan unit is the only option for a tight ceiling, confirm it carries an IP rating suited to Zone 1. Steam rises and settles on the coolest surface in the room, often a ceiling-mounted fitting, so adequate extraction reduces the moisture load every light in the room has to cope with.
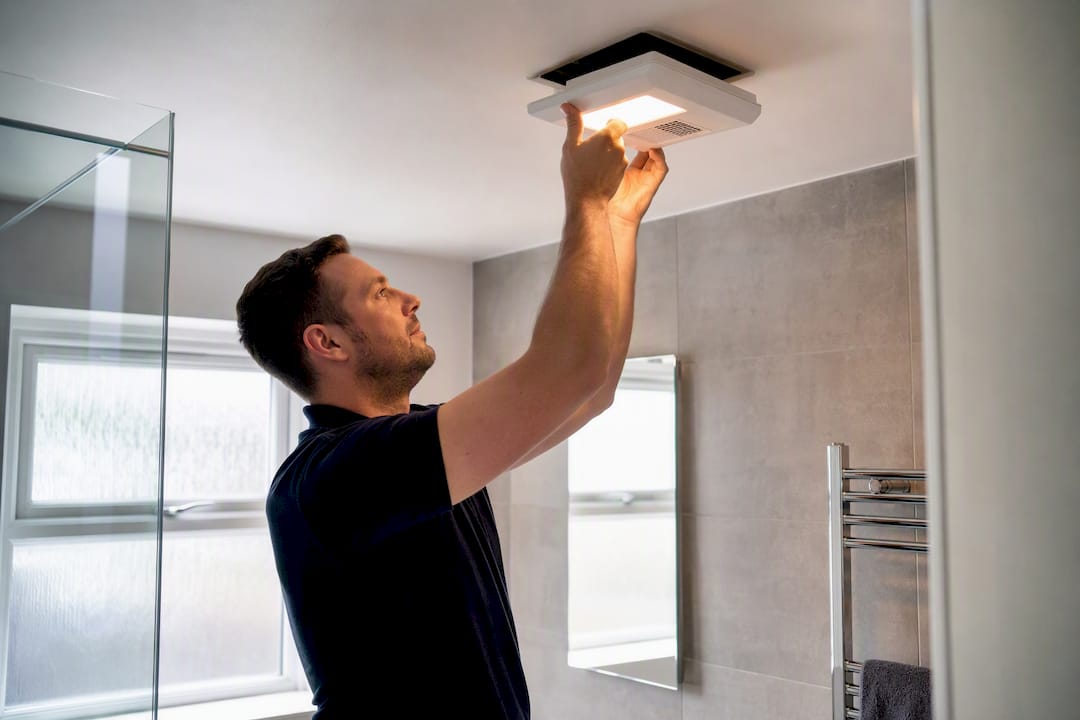
A backlit or heated mirror, some models integrate a demister pad behind the glass, solves the fogging problem at the source rather than relying on the fan alone. It’s a small addition during a full renovation and a genuinely useful one in a bathroom used by multiple people each morning.
Good extraction also protects your lighting investment. A well-ventilated bathroom with correctly sealed IP44+ fittings will outlast a poorly ventilated one running the same fixtures, because it’s condensation and trapped moisture, not the shower spray itself, that causes most long-term corrosion in bathroom electrics.
Smart controls, motion sensors and dimmers worth adding
Motion sensors solve a genuinely annoying problem: someone walking in overnight and being blasted with full brightness. A sensor set to trigger a dim, warm night-light scene, then step up to full ambient light only when a wall switch is pressed, works well in family bathrooms and is a common request during renovations.
Dimmers are the single highest-value control upgrade for the cost. Wiring a dimmable circuit during a renovation costs little more than a standard switch circuit, provided the fittings themselves are dimmable, and it’s far cheaper to plan in from the start than to retrofit later.
Full smart lighting integration, app control, scheduled scenes, voice control, suits bathrooms as part of a broader smart-home setup, but it’s rarely worth adding in isolation just for one room. If you’re already running a smart system elsewhere in the house, extending it to the bathroom during a renovation is a sensible add-on. If not, a well-specified dimmer and a motion-sensored night-light scene deliver most of the practical benefit without the ongoing app dependency.
Whatever controls you choose, confirm switch placement with your electrician first, smart switches and sensors still need to sit outside Zone 2, same as a standard switch.
How Sorted Home Solutions handles lighting in a bathroom renovation
Lighting choices get locked in during the design phase, not bolted on afterwards, that’s the difference between a plan that works and one that needs rework. Sortedhomesolutions coordinates electricians, cabinetmakers and tilers around one wiring plan, checks every fitting against its zone and IP requirement, and manages the trade sequencing so cable runs go in before tiling, not after. Ask about bathroom renovation packages with transparent, tiered pricing, and get lighting mapped onto your floor plan before the first quote lands.
— Rudi
Standards worth checking before you buy
AS/NZS 3000 wiring rules and NZECP 51 for installer safety practice.
An IP-rating explainer for practical buying guidance.
Ready to plan the lighting for your renovation properly? See Sortedhomesolutions’ bathroom renovation pricing or send through your floor plan via the enquiry page to get lighting mapped into your quote from day one.
Sources
Recommended
Comments