

300–600mm Tiles Contractors Recommend for Small NZ Bathrooms


The best approach for most small bathrooms combines medium to large format tiles on floors and walls with small mosaics on shower floors. Practical floor and wall sizes include 300×300mm, 300×600mm and 600×600mm, while shower floors typically use mosaics or tiles in the 25 to 100mm range for drainage and grip. Before ordering anything, confirm the substrate is flat enough and that the waterproof membrane beneath the tiles meets code.
TL;DR:
Large format tiles on walls and floors create a more spacious feel, but require a flatter substrate and careful cutting around fixtures.
Shower floors should use mosaics or tiles under 100mm to ensure slip resistance and proper slope formation.
Small tiles are more adaptable around irregular shapes and pipework, but demand longer installation time and precise leveling.
Proper waterproof membrane coverage extends under vanities, baths, and up adjoining walls, preventing issues from substandard waterproofing.
Ordering tiles with a 10% waste allowance and confirming stock early helps avoid delays and unexpected costs during renovation.
Table of Contents
Practical size recommendations for bathroom floors, walls and shower floors
Pros and cons of large format tiles vs small tiles in small bathrooms
Tile layout techniques and grout strategies to make a small bathroom feel larger
Choosing finishes, textures and grout colours with maintenance and safety in mind
Essential technical checks: substrate flatness, waterproof membranes, adhesives and falls
A short checklist for measuring, ordering tiles, budgeting and planning lead times
How an end-to-end contractor handles tile size choices and installation
Cost comparison between small and large tiles for small bathrooms
Design examples showing tile size effects in small bathrooms
Installation challenges specific to small tile sizes in confined bathroom spaces
Practical size recommendations for bathroom floors, walls and shower floors
Tile size should match the room’s proportions and the surface it sits on, not just personal taste. For bathroom floors, 300×300mm suits smaller or more irregular rooms where cuts around fixtures are unavoidable, while 300×600mm and 600×600mm work well in squarer rooms with fewer obstructions. According to tile sizing guidance, common small bathroom formats sit in this range, with mosaics and tiles under 100 to 200mm typically reserved for shower floors.
Wall tiling has its own logic. A vanity splashback can take a larger format for a clean, low-maintenance look, while full height wall tiling benefits from a size that limits the number of cuts near the ceiling line and around niches. Matching height to standard tile dimensions reduces waste and keeps the layout looking intentional rather than improvised.
Shower floors are the exception to the “bigger is better” rule. Falls to the waste need enough grout lines to maintain grip and follow the slope correctly, which is why smaller formats dominate here:
300×300mm or 300×600mm for the main bathroom floor where the room is reasonably square.
600×600mm for larger small bathrooms with fewer fixtures interrupting the floor plan.
25 to 100mm mosaics for shower floors, where slip resistance and correct falls matter more than minimal grout lines.
Getting this mix right from the outset avoids reordering tiles partway through a renovation.
Pros and cons of large format tiles vs small tiles in small bathrooms
Large format tiles reduce the number of grout lines on a surface, which opens up a small room visually and cuts down on the grime that collects along joints. Fewer lines mean less to clean and a more continuous look from floor to wall, a benefit large format tile suppliers point to as the main driver behind their popularity in compact spaces. The trade-off is installation: large tiles demand a flatter substrate and more careful cutting around toilets, vanities and drainage points, which can add labour time and cost.
Small tiles bring different strengths. They flex more easily around pipework and irregular corners, and their extra grout lines improve slip resistance, a point echoed in bathroom tile advice that favours mosaics for wet, sloped surfaces. They are also easier to lay over a slightly uneven substrate without the levelling work large tiles often require.
Most small bathrooms do best with a hybrid approach:
Large tiles on walls and the main floor for a sense of space.
Small mosaics on the shower floor for grip and correct falls.
A mosaic or feature strip as an accent rather than covering an entire wall.
Pro Tip: Order a small batch of your shortlisted tile before committing to the full quantity, and lay a few pieces on the floor under bathroom lighting to check how the finish actually reads.
Tile layout techniques and grout strategies to make a small bathroom feel larger
Size is only part of the equation. How you lay the tile and where you place the grout lines changes how big a room feels just as much as the format you choose.
Run tiles in the direction that stretches the room. Lengthwise for a narrow bathroom, widthwise if you want to broaden a short wall.
Choose narrow, low contrast grout. A grout colour close to the tile tone softens the grid pattern and lets the surface read as one continuous plane.
Match floor and wall tiles for continuity, but not always. Carrying one tile from floor to wall removes a visual break and can make a small shower feel bigger, though too much of one busy pattern can overwhelm a tight space.
Place accents sparingly. A mosaic niche or a single feature strip adds interest without cluttering a room that already has limited visual breathing room.
These choices cost little extra at the ordering stage but have an outsized effect on how finished the bathroom feels. A layout plan is worth sketching before tiles arrive, particularly if you are coordinating cuts around a vanity or shower screen; our guide to small bathroom layouts covers how room shape interacts with these decisions.
Choosing finishes, textures and grout colours with maintenance and safety in mind

Glossy tiles bounce light around a room, which helps a small bathroom feel brighter and larger, particularly under good lighting. The trade-off is slip risk in wet areas, where a glossy floor finish can become hazardous underfoot. Matt and textured finishes sacrifice some of that light reflection but hold up better on shower floors and anywhere water pools.
Grout colour does more work than most people expect. A grout shade close to the tile minimises the visual grid, while a grout a few shades darker than a pale tile can hide staining over time without drawing attention to every joint.
Glossy tiles suit dry floors and walls where light reflection is the priority.
Matt or textured tiles suit shower floors and wet zones where grip matters most.
Grout colour should either blend with the tile for a seamless look or sit slightly darker to resist visible staining.
Cleaning frequency rises with the number of grout lines, so a mosaic shower floor will need more regular attention than a large format wall.
If you are weighing up glossy tile against a matt alternative, it is worth checking how your existing or planned lighting will interact with the surface, something covered in our piece on bathroom lighting ideas.
Essential technical checks: substrate flatness, waterproof membranes, adhesives and falls
No tile size choice matters if the waterproofing underneath fails. Wet area waterproof membrane systems must be compatible with the tile adhesive used over them, and the code of practice for internal wet area membrane systems points to AS ISO 13007.1 as the relevant standard governing that compatibility.
Membrane coverage extends further than many renovators expect. Industry guidance recommends waterproof membranes extend under floor mounted vanity units, baths and shower trays, and a recommended distance up adjoining walls where those walls are not otherwise waterproofed, according to wet area flooring guidance. The same guidance notes that tiles used in wet areas should have a maximum water absorption of 6%, fixed over a rigid substrate with an appropriate membrane beneath.
Before tiling begins, confirm these points with your installer:
Substrate flatness, since large format tiles need a flatter base than smaller formats or levelling compound will be required first.
Membrane extents, checked against the 150 millimetre wall coverage figure above.
Adhesive and grout compatibility, matched to the membrane manufacturer’s specification.
Shower falls to waste, which need to be formed correctly before any tile goes down, particularly for curbless showers where there is no step to contain water.
Tiles and grout themselves are not waterproof. Long-term durability in a wet area depends on the membrane underneath being correctly specified and installed, which is why this step gets checked first, not last.
A short checklist for measuring, ordering tiles, budgeting and planning lead times
Getting the logistics right prevents the two most common tiling mistakes: running short mid-job and blowing out the schedule waiting on stock.
Measure every surface, including wall lengths, ceiling height, door swing and plumbing positions, then add a waste allowance of around 10% for cuts and pattern matching.
Order early, since tile lead times can run longer than the trade schedule allows, particularly for imported or special order formats.
Split your budget across product, labour and a contingency line rather than spending the full amount on tile alone.
Request samples and confirm stock before committing to the full order, and buy a few extra boxes in case of breakage or future repairs.
A beginner’s renovation checklist echoes this approach, recommending that wall lengths, plumbing positions and budget categories all get mapped out before ordering starts. If plumbing positions are still being finalised, our guide to bathroom plumbing layout is worth reading alongside your tile plan, since moving a drain late in the process can force a different tile cut.
How an end-to-end contractor handles tile size choices and installation
Sorted Home Solutions coordinates substrate preparation, waterproofing and tile installation as one sequence rather than handing the job between separate trades, which is where many of the failures covered above tend to creep in. That matters most when a membrane needs to be signed off before a tiler can start, or when a large format tile requires levelling work that a plumber or waterproofer has to account for first.
Hiring a full service contractor suits renovators who want one point of contact across design, trades and consent rather than managing a waterproofer, tiler and plumber separately. Completed projects, including tile choices across different bathroom sizes, are shown in the bathroom renovations gallery, and current package details sit on the pricing page.
Cost comparison between small and large tiles for small bathrooms
Tile price per square metre varies by material and finish more than by size alone, but installation cost often tells a different story. Large format tiles generally need fewer units to cover a given floor, which can reduce labour time on straightforward, square rooms. That advantage narrows quickly in a small bathroom with multiple fixtures, where large tiles require more precise cutting and a flatter substrate, sometimes adding a levelling step that smaller tiles would not need.
Small tiles and mosaics often cost more per square metre for the product itself, reflecting the extra manufacturing and sheeting involved, but they can be quicker to lie around awkward shapes like a curbless shower floor. The real cost difference tends to show up in preparation work rather than the tile itself: a substrate that needs screeding before large format tiles can go down adds a cost that a mosaic installation might avoid entirely.
Grout and adhesive quantities also shift with tile size, since more grout lines mean more grout but often less waste from cuts. For most small bathroom renovations, the sensible approach is to price the full job, product, substrate work and labour together, rather than comparing tile unit prices in isolation.
Design examples showing tile size effects in small bathrooms
A narrow bathroom with a separate shower often benefits from 600×600mm tiles run the long way down the floor, paired with matching wall tiles to the ceiling, which removes the visual break between surfaces and makes the room read as one continuous space. Large format tiles can make a small bathroom look larger because they reduce the number of grout lines and create that continuous surface, an effect that shows up clearly once the room is finished and lit.
A compact ensuite with a curbless shower tends to work better with 300×300mm floor tiles across the main area and a 25mm mosaic through the shower zone, where the extra grout lines help the floor follow the fall to the waste without a visible step or threshold.
A powder room with no shower has more flexibility, since slip resistance matters less. Here, a bold tile size or pattern on the floor, paired with plain large format walls, can act as a feature rather than a risk. Design tactics that stretch a small bathroom visually rely as much on grout colour and tile orientation as on tile size itself, so even a modest format can look larger with the right grout and layout choices.
Installation challenges specific to small tile sizes in confined bathroom spaces
Mosaics and small format tiles bring their own set of installation demands, even though they are often chosen because they are easier to fit into tight or irregular spaces. The sheer number of individual pieces means more grout joints to fill consistently, and any inconsistency in joint width becomes obvious across a shower floor in a way it would not on a single large tile.
Forming correct falls to the waste is the most technical part of a small tile installation. The tiler needs to maintain an even slope across dozens of small pieces rather than a handful of large ones, which takes more time and a steadier hand. Working in a confined shower recess also limits how a tiler can kneel, cut or access corners, slowing the pace compared with an open floor.

Cutting mosaics around drains, corners and fixed glass screens adds further time, since sheets often need trimming piece by piece rather than as a single cut. None of this makes small tiles a poor choice. It does mean the labour component of a small format installation can run longer than the material cost alone would suggest, which is worth factoring into any quote before work begins.
Author’s short verdict and recommended default approach
For most small bathrooms, the default worth starting from is medium to large format tiles on the main floor and walls, paired with a small mosaic on the shower floor for grip and falls. That combination gives you the open, continuous feel large tiles provide without compromising safety where it matters most.
The one point not worth compromising on is the waterproof membrane and substrate prep underneath the tile. Everything else, size, colour, layout, is a style decision. Use the checklist above before ordering, and if you would rather have someone manage the whole sequence, a quote from a renovation contractor is a reasonable next step.
— Rudi
A managed option for your bathroom tiling project
If coordinating a waterproofer, tiler and plumber around one tile plan sounds like more than you want to manage yourself, Sorted Home Solutions runs the full renovation as one project, from substrate prep through to the finished tile.
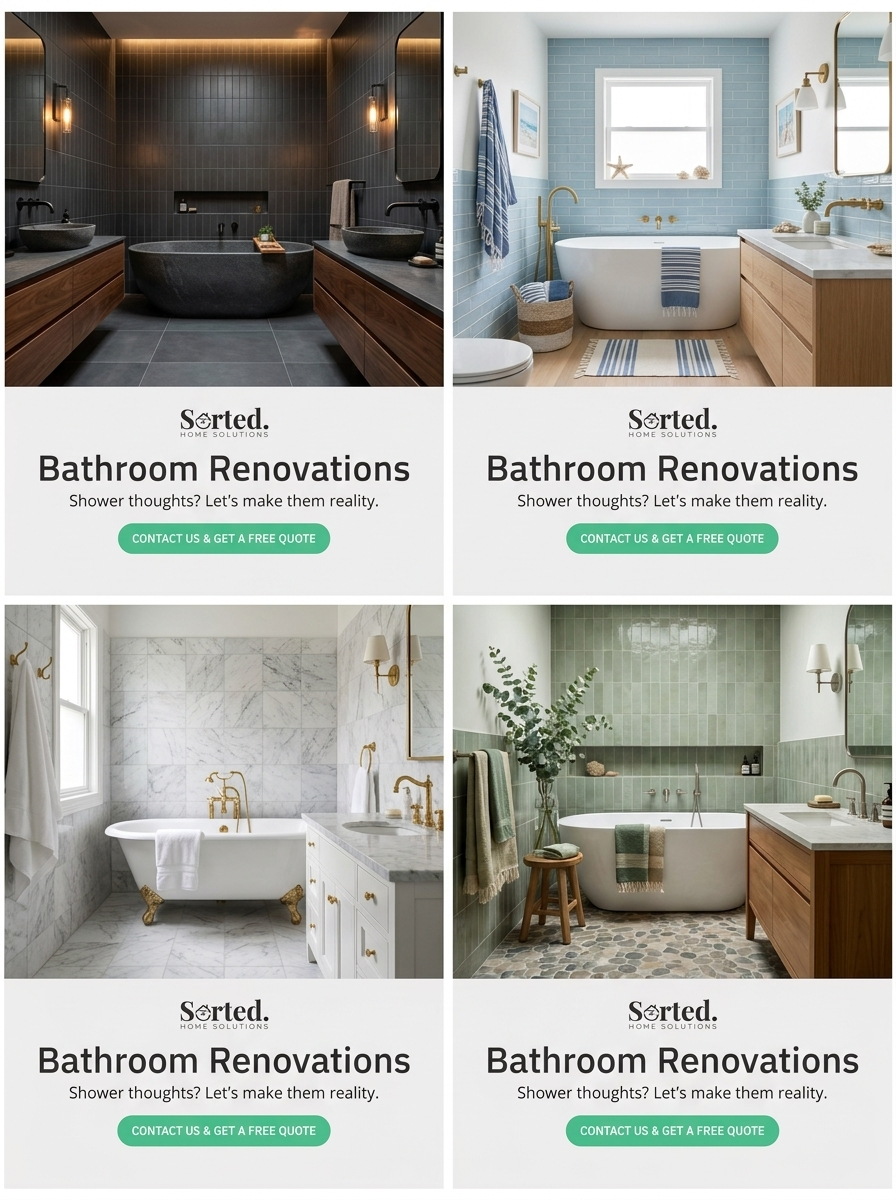
Bathroom renovations are offered as packages, helping clients understand costs before work starts rather than piecing quotes together from separate trades. You can see completed projects on the bathroom gallery, review current package options on the pricing page, and get in touch for a quote on your own bathroom.
FAQ
What size tile looks best in a small bathroom?
Medium to large format tiles such as 300×600mm or 600×600mm generally look best on the floors and walls of a small bathroom, since fewer grout lines create a more open, continuous surface. Shower floors are the exception, where mosaics or tiles under 100mm are preferred for grip and correct falls, as noted in tile sizing guidance.
Are small or large tiles better for a small bathroom?
Neither size wins outright. Large tiles suit the main floor and walls for a spacious look, while small tiles and mosaics suit shower floors because their extra grout lines improve slip resistance and help the surface follow the fall to waste.
Do larger tiles make a small bathroom look bigger?
Larger tiles can make a small bathroom look bigger because they reduce the number of grout lines and create a more continuous surface across the floor and walls. The effect is strongest when the tile colour and grout tone are kept close, which further softens the visual grid.
What tile size works best for a shower floor in a small bathroom?
Mosaics or small format tiles in the 25 to 100mm range work best on shower floors, since the additional grout lines give better grip underfoot and allow the tiler to form a consistent fall to the waste. Larger tiles are harder to slope correctly across a sloped shower base without visible lippage.
Do I need a waterproof membrane under bathroom tiles?
Yes, a compliant waterproof membrane is required beneath tiles in wet areas, and it must be compatible with the tile adhesive used over it, as set out in the code of practice for wet area membranes. Membrane coverage typically needs to extend under vanities, baths and shower trays and up adjoining walls to the extent set out in that guidance.
Sources
Recommended
Comments