

Lead paint removal NZ: what actually keeps your family safe

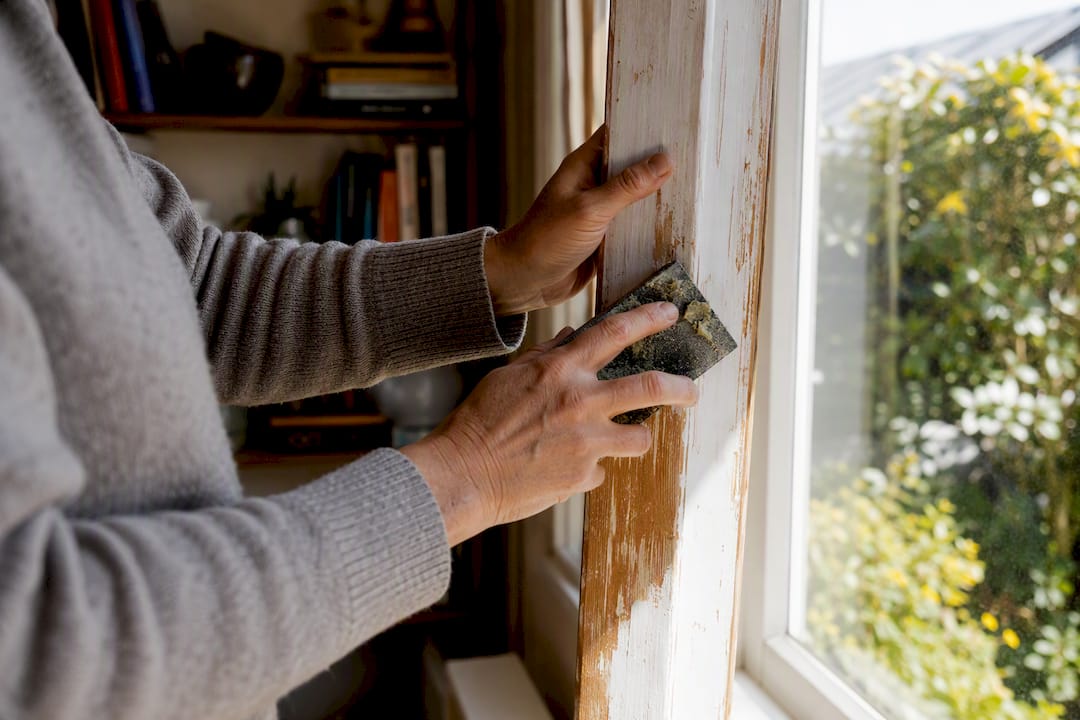
If your paint is stable and not flaking or being disturbed, overcoating it is usually the safer move than removing it. When removal genuinely is needed, hire professionals or follow strict wet methods with HEPA controls. Do not sand, scrape, or heat old paint until you know what it contains.
Three things to do right now:
Stop any sanding, scraping, or heat gun work immediately.
Isolate the area, keep children and pets out, and avoid walking dust through the house.
Book a lead test or start pricing a professional removal.
Respirators used for lead paint work must meet AS/NZS 1716 and a HEPA vacuum is non-negotiable for any dust cleanup — a household vacuum simply pushes fine lead particles back into the air.
Key Takeaways
Safe lead paint management in New Zealand comes down to presuming lead is present, avoiding dry methods, and never skipping clearance testing before reoccupation.
Point | Details |
Default to stabilising | Overcoat intact, non-flaking paint rather than removing it, if it isn’t a chewable surface. |
Wet methods only | Use wet sanding, wet scraping, or chemical stripping; never dry sand or abrasive blast. |
Match PPE to the standard | Respirators must meet AS/NZS 1716, paired with a HEPA vacuum for all cleanup work. |
Test before and after | Confirm lead presence first, then require clearance testing before anyone moves back in. |
Consider a managed option | Sorted Home Solutions coordinates testing, trades, disposal, and clearance sign-off as one project. |
Table of Contents
Why lead paint removal matters for your family’s health
Lead dust and fumes, not solid paint chips, cause most exposure in New Zealand homes. You can inhale fine dust without noticing it, and it settles on floors, windowsills, and toys where children pick it up on their hands.
Children under six and pregnant women face the highest risk, because developing brains and nervous systems absorb lead more readily and the damage is often permanent. WorkSafe and the Ministry of Health both recommend you presume any home built before the 1980s contains lead paint unless testing proves otherwise. You cannot tell by looking. Old white gloss on skirting boards can look identical to modern lead-free paint.
Exterior work carries a second, less obvious risk: dust and paint chips from weatherboards and window frames settle into garden soil, where they persist for years and get tracked back indoors on shoes or picked up by kids digging in the dirt.
A few points worth keeping in mind:
Lead exposure is cumulative. Small amounts over months add up in the body.
Renovation and demolition are the most common causes of acute exposure, far more than living near old, intact paint.
Soil near foundations and under eaves often carries higher lead levels than soil elsewhere in the yard.
Should you stabilise or remove the lead paint?
Overcoating intact paint is often the lower-risk option, according to Resene’s safety guidance, because it avoids generating dust altogether. If the existing paint is firmly bonded, not flaking, and not somewhere a child could chew or pick at it (window sills and cot rails are classic risk spots), a light scuff sand by hand, a lead-specific sealer or primer, and a compatible topcoat will usually lock the hazard in place safely.
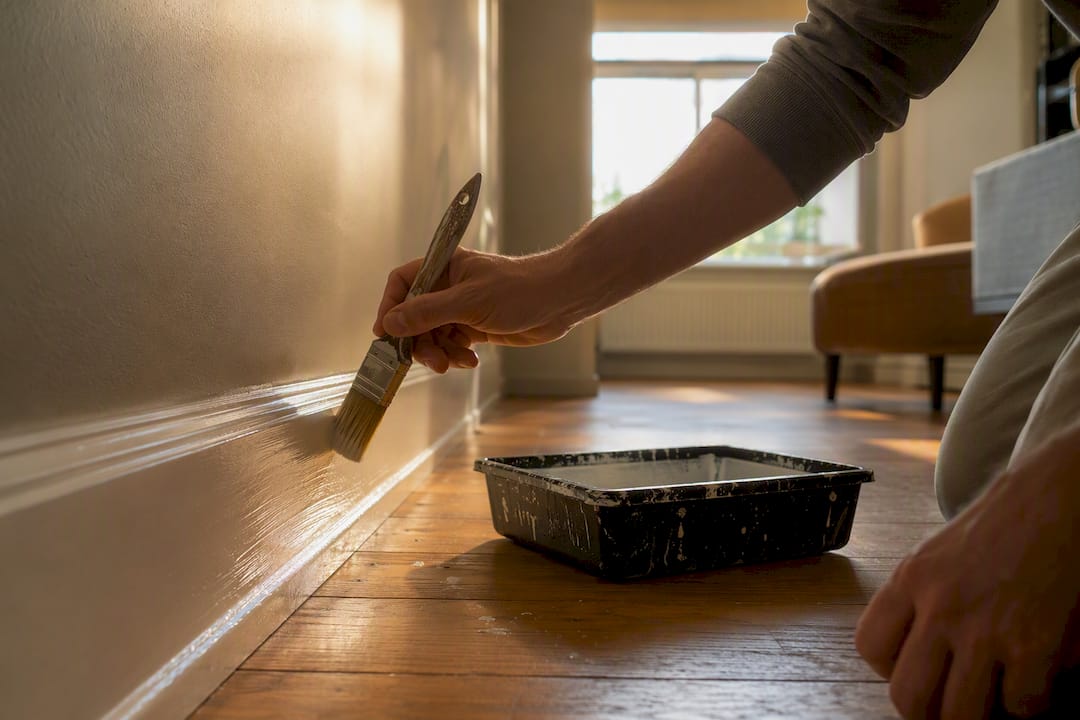
Removal becomes necessary when the paint is already flaking, peeling, or chalking, when it sits on a chewable surface, or when deterioration is widespread enough that overcoating won’t hold. Renovation work that will expose or disturb the paint, especially where children live or play nearby, also tips the decision toward full removal rather than a temporary fix.
Weigh these trade-offs before choosing:
Cost: Stabilisation is almost always cheaper and faster than removal.
Disruption: Removal often means vacating rooms or the whole house for days, while stabilisation can sometimes be done room by room.
Liability: If you’re a landlord or property manager, undisclosed deteriorating paint carries more legal risk than a documented decision to stabilise or remove it properly.
If you’re weighing this against a wider renovation, our guide on common renovation defects is a useful companion for spotting other issues while you’re assessing painted surfaces.
Safe lead paint removal methods for New Zealand homes
Wet sanding, wet scraping, and controlled chemical stripping are the methods New Zealand guidance consistently supports, because keeping the paint wet stops dust from becoming airborne in the first place. For small, removable joinery like doors, sashes, and window frames, stripping off-site in a controlled dip tank or cabinet is standard practice for heritage timber, and it keeps the mess and the risk out of your living spaces entirely. Low-temperature mechanical tools are acceptable only when fitted with HEPA extraction; without it, they’re just another way to fill a room with lead dust.
Some methods are ruled out entirely. Dry sanding, abrasive blasting, and open flame or heat gun stripping all aerosolise lead at levels that make them unsafe for residential work, and power sanders without HEPA fittings fall into the same category. If a contractor turns up with a standard orbital sander and no vacuum attachment, that’s your cue to stop the job.
A safe removal sequence, whether you’re doing small-scale work yourself or checking what a contractor should be doing, looks like this:
Test or presume. Get a paint sample tested, or presume lead is present if the home predates the 1980s.
Isolate and seal the work area. Close doors, seal gaps with plastic sheeting, and switch off air conditioning or fans that could spread dust.
Clear the room. Remove furniture, soft furnishings, and anything that can’t be easily decontaminated; cover flooring with a plastic groundsheet.
Keep surfaces wet throughout. A fine mist spray bottle or wet cloth on the paint before and during scraping or sanding keeps dust from becoming airborne.
Collect debris as you go. Work over the groundsheet and gather paint chips and sludge continuously rather than letting them accumulate.
HEPA vacuum and wet-wipe every surface. This includes windowsills, skirting boards, and any horizontal surface dust could have settled on.
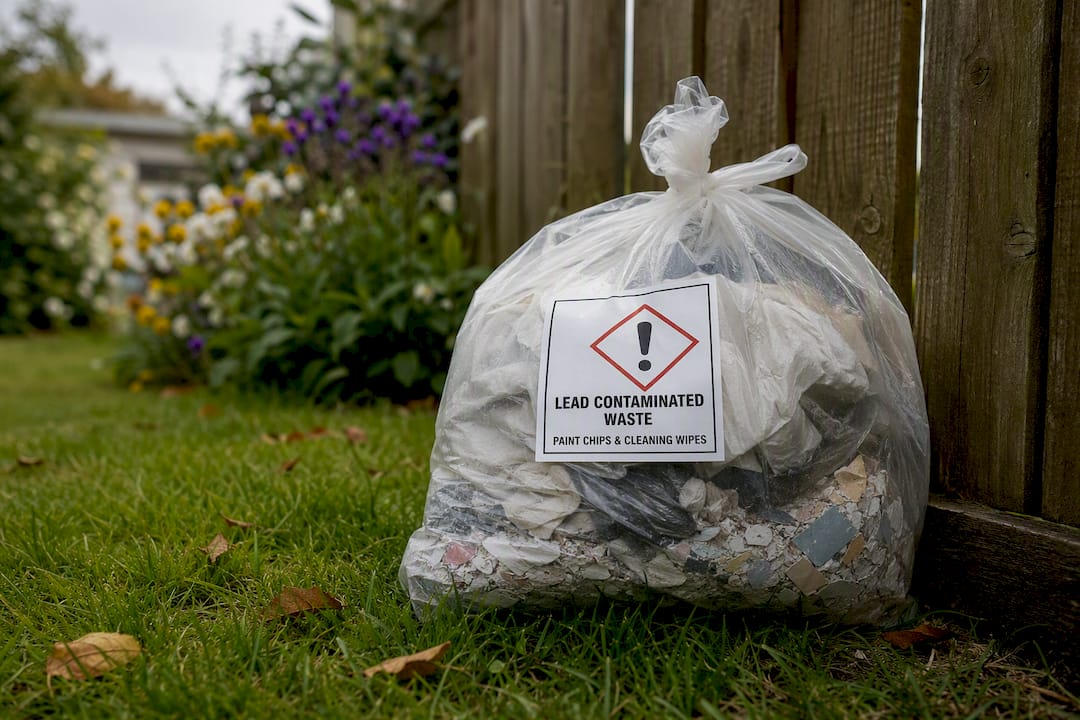
Bag and label all waste as lead-contaminated before it leaves the site.
Get clearance testing done before anyone, especially children, re-enters the space.
Pro Tip: Keep a spray bottle within arm’s reach the entire time you’re scraping. The moment paint starts to feel dry and dusty under the scraper, stop and re-wet it before continuing. Dry dust is the enemy, not the paint itself.
PPE, respirators, and the standards that govern the job
The respirator standard that matters here is AS/NZS 1716, with selection and fit guided by AS/NZS 1715. For any dusty removal work, that means a fit-tested, half-face or full-face respirator rated for toxic dust, not a basic paper dust mask picked up from the hardware store. A loose seal or the wrong filter cartridge defeats the purpose entirely.
Beyond the respirator, full PPE for lead paint work should include:
Disposable coverall suits, changed if they become visibly contaminated
Nitrile or similar disposable gloves
Boot covers to stop tracking dust through the house
Safety glasses or goggles to prevent eye contact with dust and debris
Decontamination matters as much as the gear itself. Never wear contaminated overalls or boots outside the work zone or take them home — strip them off in the containment area, bag them, and wash hands and face thoroughly before eating, drinking, or touching your face.
New Zealand’s regulatory backbone here comes from WorkSafe’s guidance on managing lead-based paint, the Ministry of Health’s management guidelines, and the technical standard AS/NZS 4361.2:2017 for hazardous paint management. Local councils then set the rules for how you dispose of the waste once the job’s done, and those rules vary by region.
When to hire a professional for lead paint removal
Some jobs are simply too large, or too risky, to handle yourself. Whole-house repaints, stripping exterior weatherboards, work in rooms used by children or pregnant occupants, and any job where you suspect soil contamination around the foundations all call for a licensed contractor rather than a weekend DIY effort.
Before signing anyone up, run through this checklist including confirming their licensed waste disposal plan:
Ask for a written method statement naming the specific removal technique, PPE class, and HEPA vacuum model they’ll use.
Confirm their waste disposal plan, including which licensed facility will take the contaminated material.
Check that clearance testing is included in the quote, not offered as a costly extra afterwards.
Ask about insurance and request references from similar residential jobs.
Get a realistic timeline, including how long you’ll need to vacate the space and how containment will be maintained day to day.
If you’re still deciding between doing it yourself and bringing in help, our DIY versus professional renovation guide walks through the trade-offs in more detail, and our guide on choosing a renovation company in Auckland covers exactly what to ask for in that method statement.
Waste disposal and proving the job is actually safe
Bag every scrap of paint waste, chips, sludge, and used wipes, and label it clearly as lead-contaminated. Never burn it. Burning lead paint waste releases contamination into the air and surrounding soil, undoing everything the wet-method work was meant to prevent. Check with your local council before disposal. Some accept small residential quantities through household refuse, others require a licensed hazardous waste facility.
Soil around the work area deserves attention too. Guidance summarised in Appendix O of the WasteMINZ residential lead documentation sets out the benchmarks below.
Soil lead level | What it means |
— | Typical residential background level |
— | Investigation level, further testing recommended |
— | Action level, remediation likely required |
Before anyone moves back into a treated space, insist on clearance testing: surface dust wipe sampling, HEPA vacuum sampling, and lab analysis rather than a field kit alone. A clearance certificate is your proof the job actually worked.
How Sorted Home Solutions manages a compliant lead paint project
Coordinating testing, containment, licensed disposal, and clearance sign-off across multiple trades is exactly the kind of project most homeowners have never had to run before, and it’s easy to miss a step. Sorted Home Solutions manages the whole sequence under one point of contact: arranging testing, coordinating the trades doing the physical work, handling containment and licensed disposal, and booking the post-work clearance testing that proves the space is safe again.
Full project management from initial testing through to clearance certification
Coordination of painting, building, and any other trades the job touches
Licensed waste handling and disposal arranged for you
Clearance testing booked before you move back in
Pro Tip: If you’re already planning a wider renovation and lead paint turns up mid-project, folding it into the same managed programme is usually far simpler than running it as a separate job.
For smaller, isolated jobs, a specialised abatement-only contractor may suit you fine. For anything tied into a broader renovation, our case studies of completed Auckland renovations show how that managed approach plays out in practice.
What the guidance gets right, and where homeowners still get caught out
The official NZ guidance is genuinely good. WorkSafe, the Ministry of Health, and the AS/NZS standards agree on the fundamentals, and none of it is padded with jargon designed to make the problem feel more complicated than it is. Where homeowners get caught out isn’t the guidance itself. It’s the gap between reading it and actually running a compliant job across multiple trades, a waste disposal booking, and a lab-tested clearance certificate.
Conventional advice tends to stop at “hire a professional” without explaining what that actually involves logistically. A painter who’s happy to wet-scrape a window frame might have no relationship with a licensed disposal facility, and a general contractor might skip clearance testing entirely because nobody asked for it in writing. The gap isn’t expertise. It’s coordination.
If you take one thing from this, prioritise getting a written method statement before any work starts, and treat clearance testing as mandatory, not optional. Everything else, the choice of stripper, the brand of respirator, matters less than making sure the whole sequence, from test to clearance, actually happens.
A managed way to handle lead paint safely in your Auckland home
Sorted Home Solutions is the alternative to juggling separate testers, painters, and waste contractors yourself: one point of contact manages the testing, the trades, the disposal, and the clearance sign-off as a single coordinated job. For a lead paint project tied into a wider renovation, that means no chasing three different tradespeople for updates and no wondering whether anyone actually booked the clearance test.

This fits homeowners who want the compliance risk taken off their plate entirely, rather than managing multiple contractors themselves. It also suits anyone already planning kitchen, bathroom, or wider renovation work who’d rather deal with lead paint as part of that same programme instead of a separate headache. If that sounds like your situation, get in touch through the enquiry page to talk through your project, or browse the full renovation service to see how it fits into a broader reno.
This article is general information, not a substitute for advice from a qualified doctor. Consult a qualified healthcare professional about your own circumstances before acting on anything here.
Sources
Recommended
Comments